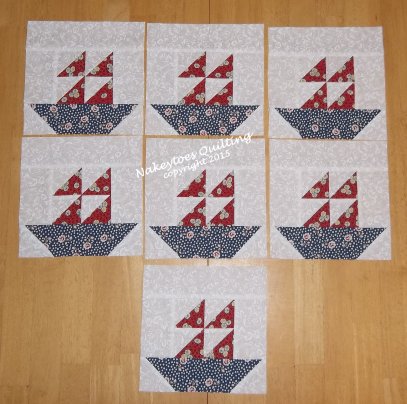
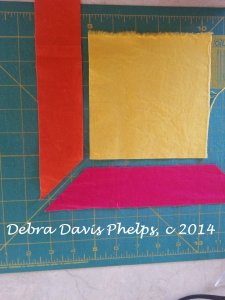
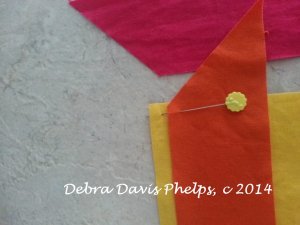
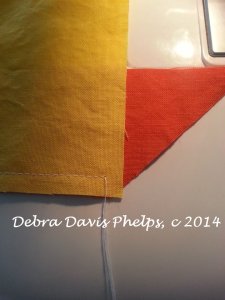
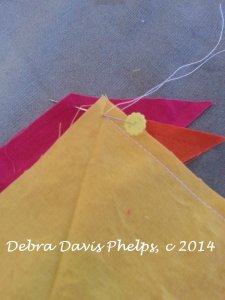
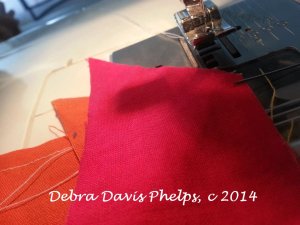
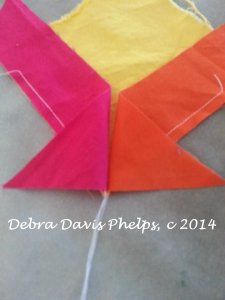
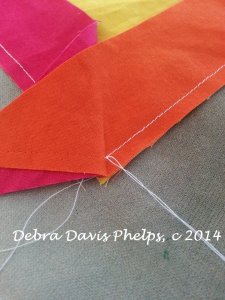
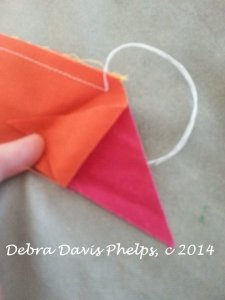
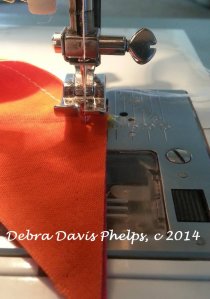
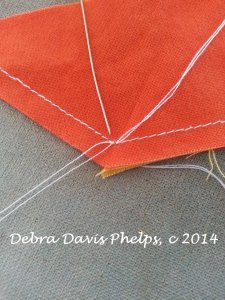
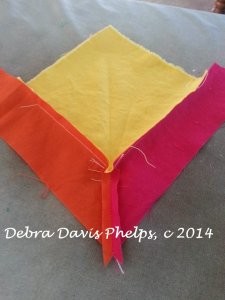
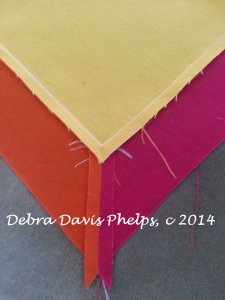
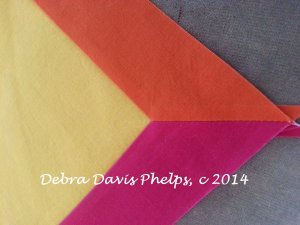
This week I finished block “Fishing Boat” from the Pony Club Sampler. This was such an easy, simple block and it was so nice to be able to put six of them together so quickly.
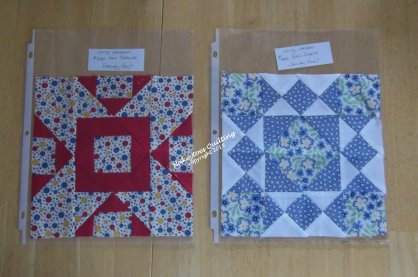
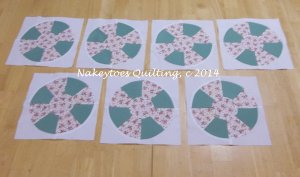
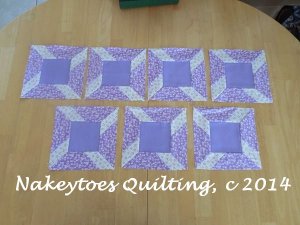
This week’s mail call also sent me “Home Treasure” & “Girl’s Favorite” which are pictured below.
One of the members of the Farmer’s Wife Quilt Swap Spot demonstrated a method for keeping her blocks catalogued and in order. 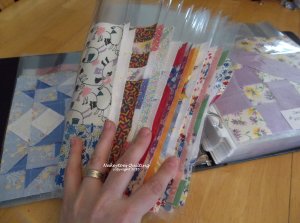 She simply used clear plastic page protectors and a 3” binder. Such an easy concept, and I just happened to have those lying here in my yard sale pile. So I dug them out, found all of my squishies (a squishy is a package containing either swapped quilt blocks or quilting fabric) that were sliding off my desk, grabbed some scissors, a stack of 3×5 cards and a pen and spent two evenings sorting blocks and filing them in the sleeves.
In other news, the Quilter’s Virtual Yard Sale has been experiencing significant growth this week. Apparently Facebook has been putting the QVYS in quilter’s side bar as a “Might Like”. Sales over all have been tremendous and I was able to de-stash much of my overflow this week.
What is the Quilter’s Virtual Yard Sale you ask? It is a Facebook group that I formed in September of 2013 to help clean the excess “stuff” out of my sewing room. QVYS started with about 30 members, just “Friends” that I added to the group, and it has grown to well over 5700 quilters. Free to join, you aren’t under any obligation to buy, sell, or trade. We are a drama free group whose number one rule is no commercial business practices. There are a few other rules/guidelines to help everyone have a favorable experience, but not so many that the group isn’t enjoyable. Have you ever asked yourself, “How do I get rid of all this extra fabric?” or “Where is the best place to destash quilting supplies?” That’s what the Quilter’s Virtual Yard Sale was designed to do. So if you have extra fabric, scraps, thread, machines, or anything to do with sewing, feel free to join. DISCLAIMER: I try to screen new members to weed out clinkers and spammers, so if you don’t have anything quilting related on your personal page or if your privacy settings are too high, I probably won’t add you. Send me a message to let me know who you are and I will add you. Just look for the logo!
This post may contain links to external sites where I receive a (very) small commission. Thank you for taking the time to look.
Linking up with Mel over at The Quilting Room.
Next week is spring break so I hope to have lots more to show you!
Blessings!
Melissa aka Nakeytoes Quilting

